Looking for a charming way to upcycle old teacups while creating something special for the backyard birds? A teacup bird feeder might be just the perfect weekend project you’ve been searching for. These adorable feeders add a touch of whimsy to your garden while providing local birds with a fancy dining spot.
Making your own hanging teacup bird feeder is surprisingly simple and requires just a few basic materials you might already have at home.
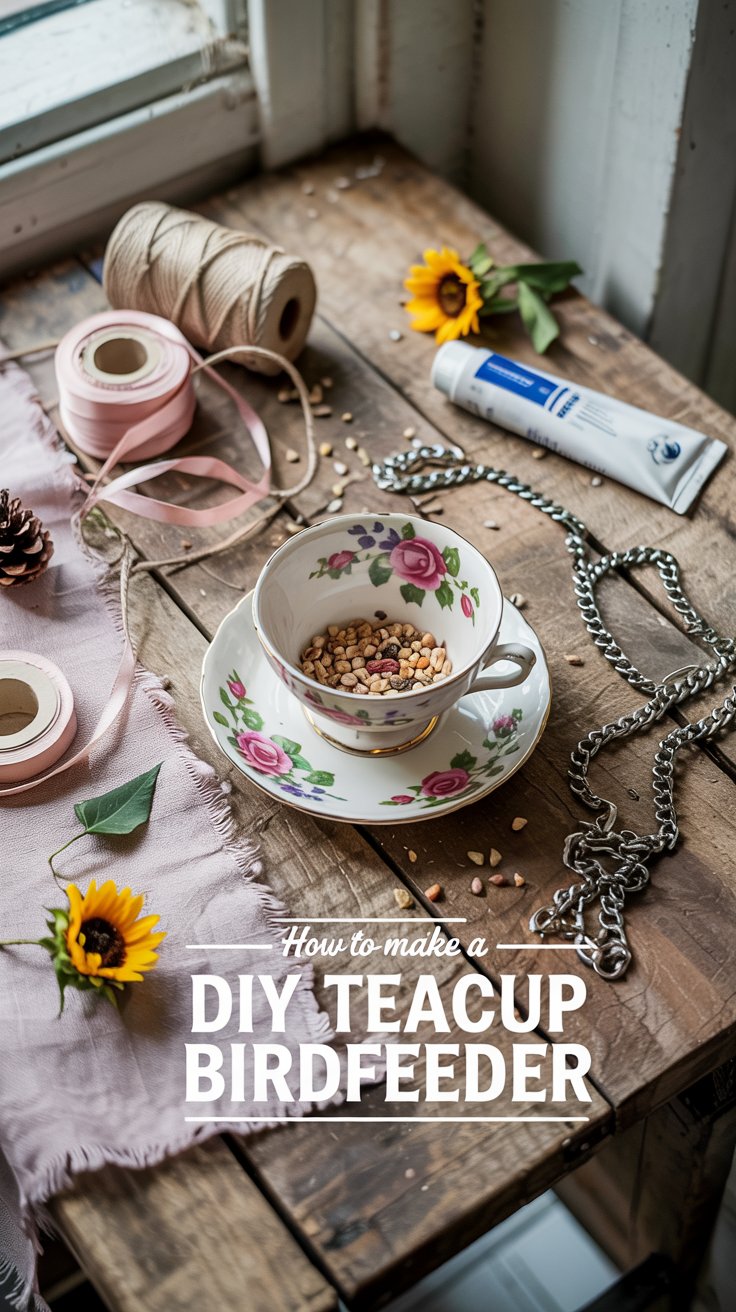
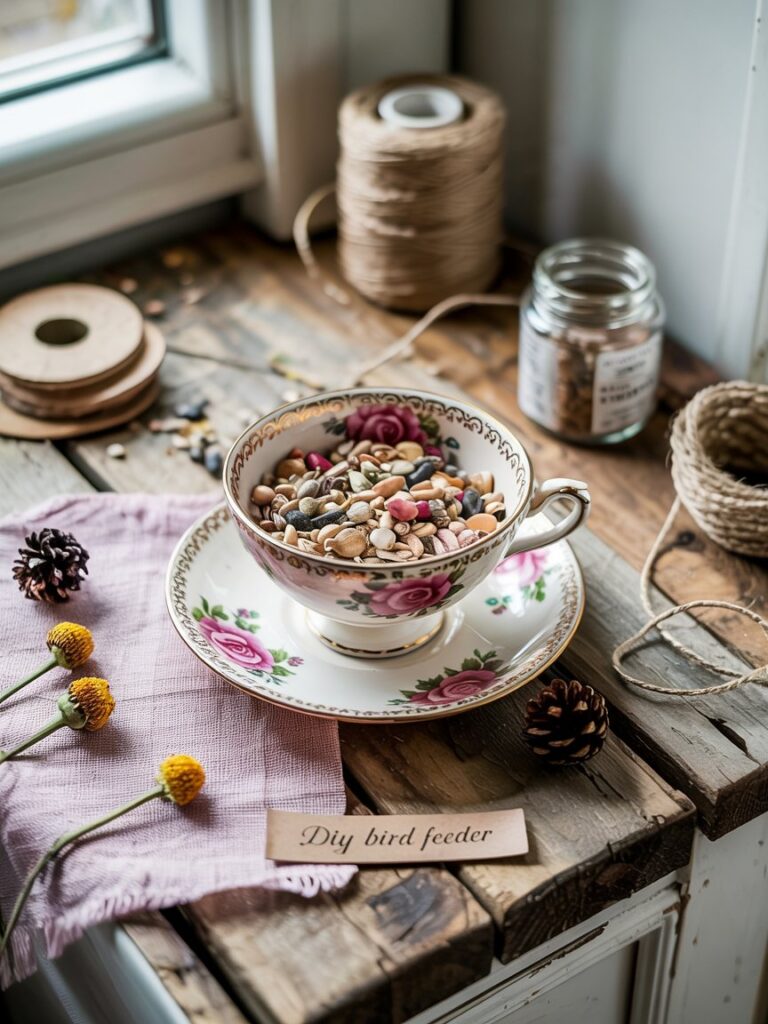
You’ll need a teacup, a saucer, strong adhesive, and some twine or ribbon for hanging. Even chipped or mismatched teacups work beautifully for this project, making it an excellent way to breathe new life into vintage finds or family heirlooms that are no longer suitable for drinking.
This easy DIY project can be completed in about an afternoon, yet provides a season filled with bird watching enjoyment. Whether you’re an experienced crafter or just beginning your outdoor project journey, these hanging teacup feeders offer a perfect blend of functionality and charm that will have your neighborhood birds flocking to your yard in no time.
Gathering Materials
Before you start creating your hanging teacup bird feeder, collecting the right supplies is crucial. The perfect materials will ensure your feeder lasts through the seasons.
Choosing the Perfect Teacup
Look for teacups with sturdy handles that can support the weight of bird seed and visiting birds.
- A thrifted teacup is ideal and adds vintage charm to your garden.
- Choose porcelain or ceramic cups as they withstand outdoor conditions better than thin china.
- Teacups with wider openings make it easier for birds to access the seeds.
- Colorful patterns attract birds and add decorative flair to your garden.
Don’t worry about matching sets! Mismatched teacups and saucers often create the most charming feeders. You can find inexpensive options at garage sales or thrift stores—some neighbors might even give them away for free.
Selecting Bird-Friendly Adhesives
The right adhesive ensures your feeder stays intact through rain and wind.
- Use waterproof glue designed for outdoor use.
- Marine Goop adhesive is excellent for this project as it creates a strong bond that resists moisture.
- E6000 craft adhesive offers another durable option.
Make sure your adhesive is non-toxic once dry, as birds may peck at various parts of the feeder. Read product labels carefully before purchasing. Allow sufficient curing time before hanging your feeder outdoors.
Additional Tools and Supplies
Beyond the basic teacup and adhesive, you’ll need a few more items to complete your project.
- Twine or jute rope (2-3 feet) for hanging the bird feeder
- A matching saucer to serve as the base
- Sandpaper to rough up surfaces for better adhesion
- Scissors for cutting twine
- Bird seed appropriate for local species
- Clean cloth for wiping surfaces before gluing
Consider buying extra supplies if you plan to make multiple feeders. They make wonderful gifts for nature-loving friends and family members!
Prepping Your Teacup and Saucer
Before you start assembling your bird feeder, your teacup and saucer need some preparation. This step ensures your feeder will be clean, attractive, and durable for outdoor use.
Cleaning the Teacup Set
First, thoroughly examine your teacup and saucer for any cracks or damage. Small chips are usually fine, but avoid using pieces with structural damage.
Next, clean your teacup set using these steps:
- Wash with warm soapy water to remove any dust, dirt, or stickers.
- Use a soft cloth to avoid scratching the surface.
- For stubborn stains, soak in a solution of equal parts white vinegar and water for 30 minutes.
- Rinse thoroughly with clean water.
- Allow to dry completely for at least 24 hours.
Make sure the pieces are completely dry before moving to the next step. Any moisture trapped inside can cause problems with the adhesive later.
Assembling the Teacup Bird Feeder
Now it’s time to put your hanging teacup bird feeder together. This process involves two main steps that will transform your ordinary teacup into a charming backyard feature for the birds.
Attaching the Teacup to the Saucer
- Clean both the teacup and saucer thoroughly and let them dry completely.
- Position the teacup on its side on the saucer with the handle pointing upward.
- Mark the spot where the teacup will be attached to the saucer.
- Apply marine goop adhesive to the edge of the teacup that will touch the saucer.
- Press the teacup firmly against the saucer and hold for 60 seconds.
The adhesive needs time to set properly. Leave your creation untouched for at least 24 hours before handling it again. This waiting period ensures your DIY bird feeder will be sturdy enough to hold bird seed and withstand outdoor conditions.
Securing the Hanger to the Teacup
- Cut a piece of twine or strong cord about 24 inches long.
- Thread the twine through the teacup handle.
- Tie a secure knot at the bottom of the handle to prevent slipping.
- Create a loop at the top for hanging.
You can adjust the length of your hanging mechanism based on where you plan to display your feeder. Some crafters add decorative beads to the twine for extra charm.
For extra security, apply a small dot of adhesive to the knot. This prevents the twine from loosening over time. Your hanging teacup bird feeder is now ready to fill with seed and hang in your garden!
Decorating Your Bird Feeder
Once you’ve assembled your teacup bird feeder, it’s time for the fun part – decorating! This step lets you add personal style to your creation.
You can keep your teacup feeder simple and elegant or make it bold and eye-catching. The choice is yours!
Basic Decoration Ideas:
- Paint the rim of the saucer with weather-resistant paint
- Add decorative stones or glass beads to the saucer
- Tie colorful ribbons around the hanging twine
- Attach small artificial flowers to the edge
For outdoor projects like this, make sure to use materials that can withstand the elements. Weather-resistant paints and outdoor-safe decorations will last much longer.
If you want to get creative, try these techniques:
- Apply a coat of clear outdoor sealant over your decorations
- Use a small paintbrush to add polka dots or stripes
- Paint tiny birds or flowers on the cup’s exterior
- Add your initials to the bottom of the bottom of the saucer or a special date
Many crafters enjoy upcycling vintage teacups for their DIY bird feeders. The patterns on old cups can provide beautiful ready-made decor.
You might also consider the birds themselves when decorating. Bright colors like red and yellow tend to attract many bird species to your feeder.
Remember that your decorations shouldn’t interfere with the feeder’s function. Keep the cup’s interior and the feeding area on the saucer clear of anything that might deter birds.
Mounting and Maintenance
Properly hanging your teacup bird feeder and keeping it clean will attract more birds to your garden and extend the life of your charming creation.
Choosing the Right Location
Finding the perfect spot for your teacup bird feeder is essential for attracting backyard birds. Place it:
- 5-6 feet off the ground for optimal bird viewing
- Near trees or shrubs (about 10-12 feet away) so birds have a safe place to retreat
- Away from windows to prevent bird collisions
- In a semi-shaded area to keep bird seed from spoiling quickly
- Where you can easily see it from your favorite window
You’ll want to hang your feeder using strong twine or jute cord that won’t fray in weather. Many crafters recommend threading the twine through the cup handle and creating a secure loop at the top.
Make sure your mounting point can support the weight of the feeder plus wet seed and visiting birds.
Routine Cleaning and Care
Regular maintenance keeps your bird feeders attractive and safe for wildlife. Follow these simple steps:
- Empty and clean your teacup feeder every 2-3 weeks (more often in wet weather)
- Wash with hot, soapy water and rinse thoroughly
- Soak in a solution of 1 part vinegar to 9 parts water for 10 minutes to disinfect
- Allow to dry completely before refilling
Remove any seed that gets wet immediately, as moldy seed can make birds sick. Check the glue bond between cup and saucer regularly, as outdoor conditions can weaken adhesives over time.
During winter months, clear snow from your feeder after storms. In summer, choose shaded locations to prevent seed from spoiling quickly in the heat.
Attracting Birds and Observation
Once your teacup bird feeder is set up, the fun part begins as you start attracting local birds to your garden. The right seeds and some patience will help you enjoy wonderful bird watching experiences right from your window.
Selecting Appropriate Bird Seed
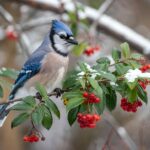
Different birds prefer different types of food. Black oil sunflower seeds are excellent for attracting a wide variety of birds like cardinals, chickadees, and finches. These seeds have thin shells that are easy for small birds to crack open.
For attracting smaller birds like goldfinches, try nyjer (thistle) seeds. They’re tiny but packed with nutrition that these colorful visitors love.
Want to create a mixed seed blend? Try this combination:
- 50% black oil sunflower seeds
- 25% millet
- 15% cracked corn
- 10% peanut pieces
Avoid cheap filler seeds like milo or wheat, as many birds will just scatter them on the ground. This creates waste and might attract unwanted pests.
Remember to keep your teacup bird feeder clean and refresh the seed regularly. Damp or moldy seeds can make birds sick!
Tips for Bird Watching
Bird watching from your own garden can be incredibly rewarding. Place your hanging teacup bird feeder where you can easily see it from inside your home.
Best times for bird watching:
- Early morning (dawn to 10am)
- Late afternoon (4pm to sunset)
- After rainfall when birds are actively feeding
Keep a small notebook near your window to record which birds visit. Note their colors, sizes, and behaviors to help with identification.
Try to stay still and quiet when observing. Sudden movements might scare birds away. If you want a closer look, consider purchasing inexpensive binoculars.
You can enhance your bird feeder setup by adding a small water source nearby. Birds love having water for drinking and bathing, which gives you more opportunities to observe them.